Turning on your computer only to see a terrifying black screen with white text ruins your entire workday instantly. You might panic and assume you lost all your precious family photos and critical business documents forever. We show you exactly how to fix grub errors and restore your computer to perfect working condition without deleting any personal files.
The bootloader acts as the absolute first program that runs before your actual operating system even loads into memory. It tells your computer exactly where to find your installed systems and how to launch them safely. You must repair grub immediately when this essential startup map gets corrupted or overwritten by another software installation.
We guide you through the entire recovery process using simple and safe methods. You learn how to use automated graphical tools or type manual terminal commands to rebuild grub completely. You regain access to your desktop environment today and build the confidence to handle any future system startup failures.
Understanding The Startup Process
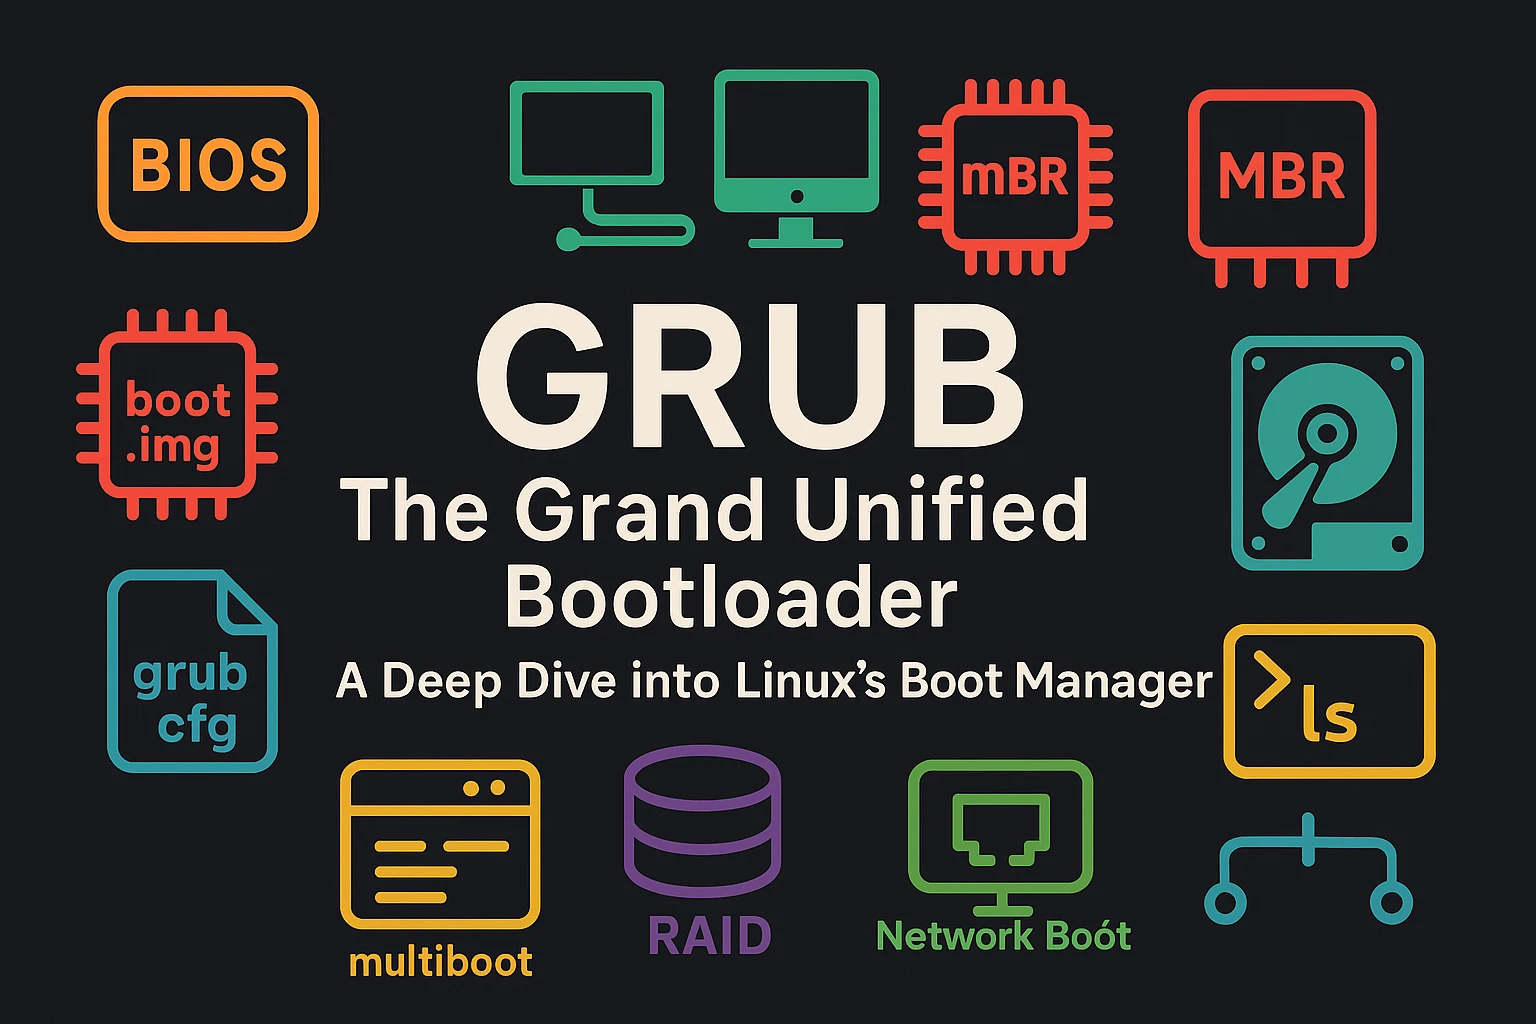
Your computer hardware needs explicit instructions to wake up your hard drives and initialize your processor cores. The basic input output system on your motherboard hands control over to a specific tiny partition on your storage drive. This tiny partition holds the initial code required to load the grand unified bootloader.
The bootloader presents a menu allowing you to choose between different installed operating systems or diagnostic modes. It loads the core linux kernel into your physical memory after you make your selection. The kernel takes complete control of the hardware and starts your graphical desktop environment finally.
You experience a massive startup failure when the connection between your motherboard and this initial code breaks. The computer literally forgets how to find your operating system and simply stops working. You fix this exact missing link when you ubuntu repair grub files on your main hard drive.
Why Your Boot Process Fails Suddenly
Many users wonder what exactly breaks their system startup files in the first place. You most commonly experience this issue after installing a completely different operating system alongside your current setup. The new installation overwrites your master boot record selfishly and ignores your existing open source system completely.
Sudden power losses during a critical kernel update also corrupt the startup configuration text files instantly. The system package manager fails to write the new configuration lines before the computer shuts down. You turn the machine back on and discover a broken menu or a confusing rescue prompt.
Hardware degradation sometimes causes specific sectors on your storage drive to become completely unreadable. The bootloader relies on reading these exact sectors to launch the system kernel successfully. You must reinstall grub to force the system to write the startup files onto fresh and healthy disk sectors.
Recognizing Common Startup Errors
You must read the exact error message on your screen to choose the correct recovery method. A blank screen containing only the word grub rescue means the system lost its main configuration file entirely. You face the most severe level of startup corruption when you see this specific prompt.
Sometimes you see a normal menu but the system displays a kernel panic error after you make your selection. This means the bootloader works perfectly but the actual operating system core remains damaged. You fix this by selecting an older kernel version from the advanced options menu instead of executing a full ubuntu grub repair process.
You might see an operating system missing error generated directly by your motherboard firmware. This indicates your motherboard cannot even locate the initial boot partition on your drive. You must configure your basic input output system settings before attempting any software repairs.
Preparing Your Rescue Environment
You cannot fix a broken operating system from within the broken operating system itself. You must create an external rescue environment using a removable flash drive. You need a secondary working computer to download the necessary files and prepare this external recovery tool.
You download the official desktop image from the Ubuntu website directly to your secondary machine. You use a free image writing application to transfer this file onto your empty flash drive. You effectively build a completely functional portable operating system that runs entirely from your removable media.
We recommend keeping this rescue drive safely in your desk drawer even after you fix your current problem. You save hours of future frustration by having a working diagnostic tool ready for any emergency. You treat this portable drive as your ultimate system administration toolkit.
Booting From Your Live Media
You insert the rescue drive into your broken computer while the machine remains completely turned off. You press the power button and immediately tap your specific motherboard boot menu key repeatedly. You usually press the escape key or the twelfth function key to trigger this hardware menu.
You select your removable flash drive from the list of available storage devices on your screen. The portable operating system loads its interface directly into your computer memory without touching your broken hard drive. You select the try before installing option to access a fully functional graphical desktop.
You connect this temporary desktop environment to your local wireless internet network immediately. You need an active internet connection to download the specific repair utilities we use in the next steps. You open a standard web browser to verify your network connection works perfectly.
Method One Using Automated Graphical Tools
Beginners often feel terrified when reading tutorials about typing manual terminal commands to fix critical hardware issues. The community created a brilliant graphical application called boot repair to handle this exact situation visually. You use this tool to ubuntu fixing grub problems without ever touching a command line interface manually.
You open the terminal application inside your temporary rescue desktop to install this helpful graphical tool. You type sudo add apt repository ppa yannubuntu boot repair and press enter to add the software source. You update your package list by typing sudo apt update before installing the actual program.
You install the graphical application by typing sudo apt install boot repair and waiting for the process to finish. You launch the program from your main application menu and wait for it to scan your storage drives. The tool analyzes your entire partition structure automatically in the background.
Executing The Recommended Repair
The graphical interface presents a very simple window with two main buttons. You click the button labeled recommended repair to start the automated recovery sequence. The application reinstalls the core files and updates your startup menus without any further manual input.
You wait patiently while the tool executes dozens of complex terminal commands silently. The program displays a success message containing a specific web link when it finishes the operation. You write down this web link carefully because it contains your complete system diagnostic logs.
You restart your computer and remove the rescue flash drive when the screen turns black. Your standard startup menu appears exactly as it did before the massive failure occurred. You successfully completed the ubuntu reinstall grub process using the easiest method available.
Method Two Rebuilding Using The Terminal Manually
Sometimes the automated graphical tool fails to resolve complex partition conflicts on heavily modified computers. You must learn how to repair grub using manual terminal commands to handle these difficult edge cases. You gain a massive understanding of how your computer actually functions by completing this manual process.
You must identify exactly which partition holds your broken operating system files first. You open your terminal and type sudo fdisk dash l to list all attached storage drives. You look for the specific drive partition that contains your primary linux file system.
You might see your main system located on a partition labeled dev sda2 or dev nvme0n1p2 depending on your hardware type. You write this exact partition identifier down on a piece of physical paper immediately. You need this precise location to mount your broken system correctly in the next crucial step.
Mounting Your Broken File System
Your temporary rescue desktop cannot modify the files on your broken hard drive until you connect them properly. You must mount your broken system partition onto a temporary folder inside your current rescue environment. You type sudo mount followed by your specific partition identifier and target the mnt directory.
Modern motherboards use a specific hardware interface called the unified extensible firmware interface to start the computer. This modern system requires a dedicated fat32 partition to hold the startup files securely. You must find this specific boot partition and mount it inside your temporary mnt folder structure as well.
You connect critical virtual system directories from your rescue environment directly into your broken system folder. You bind the dev the proc and the sys directories using three separate mount commands. You effectively trick your broken operating system into thinking it runs on the actual hardware natively.
Entering The Chroot Environment
You now transition your active terminal session from the temporary rescue desktop directly into your broken hard drive files. You execute a command called change root to shift your administrative perspective entirely. You type sudo chroot followed by the mnt directory path and press enter.
Your terminal prompt changes slightly to indicate you now operate inside your broken operating system. You hold absolute power over your corrupted files and must proceed with extreme caution. We suggest reading our guide on How To Get Root Privileges In Linux to understand the gravity of your current administrative access.
You execute every subsequent command directly against your broken hard drive configuration. You avoid typing random network commands or trying to launch graphical applications from this isolated terminal state. You focus entirely on rebuilding your startup files safely.
Executing The Reinstallation Command
You reach the absolute core of the reinstall grub ubuntu manual process right now. You tell the system to write fresh startup code directly to the master sector of your primary storage drive. You target the entire physical drive rather than a specific numbered partition.
You type grub install followed by your main drive identifier like dev sda and press enter. The system generates the fresh binary files and places them carefully into the correct hidden sectors. You watch the terminal output carefully and wait for it to report installation finished with no errors.
You must never target a specific numbered partition like dev sda1 when installing the core startup code on older basic input output systems. You always target the entire raw disk to ensure the motherboard finds the code successfully.
You update the visual menu configuration file immediately after the installation finishes. You type update grub and press enter to force the system to scan your hard drive for all installed operating systems. The tool detects your current linux installation and any secondary proprietary systems perfectly.
Exiting The Environment Safely
You must leave your isolated terminal state cleanly to ensure the system saves all your recent modifications. You type exit and press enter to drop back into your temporary rescue desktop environment. You successfully repaired the core files and updated the visual menu configuration.
You unmount all the virtual system directories you connected earlier using the umount command. You unmount your main hard drive partition last to prevent file system corruption. You ensure your hard drive writes all pending data from the physical memory cache successfully.
You restart your computer normally from the main graphical rescue menu. You remove the flash drive and watch your computer boot perfectly into your repaired operating system. You possess the advanced engineering skills required to fix any future startup failure manually.
Managing Dual Boot System Conflicts
Many people run open source platforms alongside traditional proprietary systems on the exact same physical hard drive. You face unique startup challenges when managing these complex dual boot configurations. The proprietary system aggressively attempts to overwrite your startup code every time it applies a major feature update.
You learn how to protect your custom startup menus by reading our Best Linux Windows Replacement guide thoroughly. You prevent the proprietary system from destroying your access by installing it on a completely separate physical hard drive whenever possible. You tell your motherboard exactly which physical drive to prioritize during the initial hardware power sequence.
You run the automated configuration update command from within your open source system if your proprietary option disappears from the startup menu. The tool scans all attached drives and rebuilds the menu to include every operating system it finds. You restore access to your secondary workspace quickly and efficiently.
Comparing Automated Versus Manual Recovery
You must evaluate your own technical comfort level before choosing a specific recovery method. We created a simple comparison table to highlight the major differences between the graphical tool and the manual terminal approach. You review these facts before deciding how to proceed with your system repair.
| Feature Comparison | Boot Repair Graphical Tool | Manual Terminal Chroot Method | | Technical Skill Required | Very Low | Very High | | Execution Speed | Ten Minutes | Twenty Minutes | | Risk Of Making Mistakes | Minimal | Significant | | Educational Value | Low | Massive | | Success Rate On Complex Setups | Moderate | Extremely High |
You always attempt the automated graphical tool first because it requires almost zero technical knowledge. You switch to the manual terminal commands only when the automated tool fails to understand your complex custom partition layout. You master both methods eventually as you gain more experience managing your personal infrastructure.
Solving Advanced Secure Boot Issues
Modern motherboards include a strict security feature called secure boot that prevents unauthorized code from executing during startup. This feature protects your computer from dangerous malicious software called rootkits. Sometimes this security protocol accidentally blocks your legitimate open source bootloader from launching completely.
You fix this by entering your motherboard firmware settings and disabling the secure boot feature temporarily. You restart the computer and execute the standard ubuntu repair grub process using your rescue drive. You generate fresh digital signatures for your startup files during this reinstallation.
You re-enable the secure boot feature inside your motherboard settings after you verify the system starts perfectly. You maintain maximum hardware security without sacrificing your ability to run alternative operating systems. You protect your enterprise environment just as we discussed in our Debian Server Setup Guide previously.
Protecting Your Architecture From Future Failures
You avoid the intense stress of sudden startup failures by implementing strict maintenance routines. You never turn off your computer forcibly by holding the physical power button during a system update. You wait patiently for the package manager to finish writing the new kernel files to your hard drive.
You maintain comprehensive system archives using the exact strategies outlined in our Complete Linux Server Backup Guide today. You copy your essential configuration files and personal documents to a remote location every single night. You simply erase your corrupted hard drive and restore your archive completely if the startup files become unrecoverable.
You document any custom parameters you add to your main startup configuration text file. You keep a physical notebook containing the exact kernel arguments you need to make your specific hardware function properly. You type these exact parameters back into your fresh configuration file after you rebuild grub successfully.
Summary
You hold the practical engineering knowledge required to recover a broken computer architecture successfully today. We explored the fundamental reasons why startup files corrupt and how to identify specific boot errors visually. You learned exactly how to create a portable rescue drive and boot your broken machine safely.
You understand the massive differences between using automated graphical repair applications and typing manual terminal commands. We discussed how to mount your broken partitions and enter an isolated chroot environment perfectly. You know how to manage complex dual boot conflicts and navigate strict motherboard security protocols effectively.
Next Steps
Download the official desktop image and create your portable rescue flash drive right now. Practice booting your computer from this removable media while your main system still functions perfectly. Secure your personal data and build your disaster recovery toolkit before you actually need it.